前言
目前我们很多项目采用的都是新建一个markdown,写文档,每次改接口,就打开旧的markdown=>编辑=>保存=>复制并发布到项目wiki。
这种方式面临的问题:
- 撰写方式没有具体的规范,每个后端都有自己的写法,不利于前端理解、项目交接。
- 由于API文档往往涉及到复杂的参数说明、返回值说明,markdown显示复杂的文档其实并不美观、可读性不高。
- 接口越来越多,markdown不能自动分类生成导航、自动折叠,前端找接口很麻烦,后端也难于维护。
- 改了接口不止要改markdown,还要复制到wiki,容易忘记或者不同步。
- 不能根据API自动生成Mock Server,在后端做好接口开发前,前端需要自己写假数据开发,费时费力。
以上问题总结起来,解决方案需要满足以下几点:
- 一个完整、统一的文档撰写规范
- 易于阅读的展示方式
- 便于维护、不需要多处修改的撰写方式
- 能够根据API文档生成Mock Server,以便于前端开发
Swagger Editor可以解决1、3、4,不止具有语法提示、语法检测,还支持定义对象,一处定义多处使用,减少重复编写,写好后可以一键生成Mock Server,而且支持生成多种语言的:
说明
Swagger是一个编写API文档的套件组合,而不是一个单一的工具。具体可以在官网看到。
Swagger可以实现很多功能,最基础、常用的有:
API文档撰写 —— Swagger Editor
API文档的显示 —— Swagger UI
生成Mock服务 —— Swagger Editor
描述文件编写规则见:
https://swagger.io/docs/specification/2-0/describing-request-body/
在express中使用
方法1:在代码中定义接口描述
安装nodejs和express(略)
使用express生成项目结构
1
express
安装依赖包
1
npm install -S swagger-jsdoc@4.0.0 swagger-ui-express@4.1.4
设置swagger的访问入口
1
vim app.js
加入下面代码
1
2
3
4
5
6
7
8
9
10
11
12
13
14
15
16
17
18
19
20
21
22
23
24
25
26
27
28
29
30
31
32
33
34
35
36
37
38
39
40
41
42
43
44
45
46
47
48
49
50
51
52
53
54
55
56
57
58
59
60
61
62
63
64
65
const swaggerJsdoc = require('swagger-jsdoc')
const swaggerui = require('swagger-ui-express')
const options = {
definition: {
// openapi: '3.0.0',
swagger: '2.0',
info: {
title: 'ionluo站点的API文档',
version: '1.0.0',
description: 'This is a website backend api document making by swagger-ui ',
contact: {
// name: 'ionluo',
email: 'xxxx@qq.com'
},
license: {
name: 'Apache 2.0',
url: 'http://www.apache.org/licenses/LICENSE-2.0.html'
}
},
externalDocs: {
description: 'Find out more about Swagger',
url: 'http://swagger.io'
},
host: app.get('env') === 'development' ? 'localhost:8080' : 'wwww.ionluo.cn',
basePath: '/api/v1',
schemes: [
'http',
'https'
],
consumes: [
'application/json'
],
produces: [
'application/json'
],
securityDefinitions: {
token: {
type: 'apiKey',
name: 'token',
in: 'header'
}
},
tags: [
{
name: 'user',
description: '关于用户的路由,登录,注册,获取当前用户等等'
},
{
name: 'post',
description: '关于文章的一些操作信息'
},
{
name: 'file',
description: '关于文件上传的一些操作信息'
}
]
},
apis: [
path.join(__dirname, 'routers/*.js'),
path.join(__dirname, 'models/*.js')
]
}
const swaggerSpec = swaggerJsdoc(options)
app.use('/api-docs', swaggerui.serve, swaggerui.setup(swaggerSpec))安装项目依赖并启动项目
1
2
npm install
npm run start通过访问 http://localhost:3000/api-docs 即可访问。
下面说明如何编写接口文档
如上
app.js中配置的apis,在接口文件里面写上注释,程序会自动从注释中生成api文档,其实相当于把方法2中的swagger.json写到代码注释中。下面是一个举例:
1
2
3
4
5
6
7
8
9
10
11
12
13
14
15
16
17
18
19
20
21
22
23
24
25
26
27
28
29
30
31
32
33
34
35
36
37
38
39
40
41
42
43
44
45
46
47
48
49
50
51
52
53
54
55
56
57
58
59
60
61
62
63
64
65
66
67
68
69
70
71
72
73
74
75
76
77
78
79
80
81
82
83
84
85
86
87
88
89
90
91
92
93
94
95
96
97
98
99
100
101
102
103
104
105
106
107
108
109
110
111
112
113
114
115
116
117
118
119
120
121
122
123
124
125
126
127
/**
* @swagger
* definition:
* User:
* properties:
* id:
* type: 'number'
* description: '用户id'
* username:
* type: 'string'
* description: '用户名'
* password:
* type: 'string'
* description: '用户密码'
* email:
* type: 'string'
* description: '用户邮箱'
* phone:
* type: 'string'
* description: '用户电话'
* role:
* type: 'string'
* description: '用户角色'
* information:
* type: 'string'
* description: '用户简介'
* avatar:
* type: 'string'
* description: '用户头像'
* created_on:
* type: 'string'
* format: "date-time"
* description: '创建时间'
* updated_on:
* type: 'string'
* format: "date-time"
* description: '更新时间'
* last_login:
* type: 'string'
* format: "date-time"
* description: '上次登录时间'
* is_active:
* type: 'number'
* description: '是否激活'
*/
/**
* @swagger
* /users/:
* get:
* tags:
* - user
* security:
* - tooken: []
* summary: 用户查询
* description: |-
* GET --> /api_v1/users/?limit=15&offset=0&query=xxx
* GET --> /api_v1/users/?limit=15&offset=0&username=xxx&email__icontainer=yyy&phone__container=zzz&limit=10*offset=0
* __icontainer表示不区分大小写的模糊搜索, __container表示区分大小写的模糊搜索
* produces:
* - application/json
* parameters:
* - name: query
* in: query
* description: 查找的内容,详情
* required: false
* type: string
* responses:
* 200:
* description: 返回用户数组
* schema:
* properties:
* meta:
* type: object
* description: '用于分页的数据'
* properties:
* limit:
* type: number
* description: '返回条数'
* offset:
* type: number
* description: '从第几条开始返回'
* total:
* type: number
* description: '总条数'
* objects:
* type: array
* description: '查询结果数组'
* $ref: '#/definitions/User'
*/
router.get('/', async function (req, res, next) {
// GET --> /api_v1/users/?limit=15&offset=0&query=xxx
// GET --> /api_v1/users/?limit=15&offset=0&username=xxx&email__icontainer=yyy&phone__container=zzz
const sql = queryToSQL('user', req.query, {
// 对应select * from table_name 中的 *
selectKeys: [
'id', 'username', 'email', 'phone', 'role', 'information',
'avatar', 'created_on', 'updated_on', 'is_active', 'last_login'
],
// 查询url中允许的搜索值,其他会被忽略掉(limit offset query除外)
allowsKeys: ['id', 'username', 'email', 'phone', 'role', 'information', 'is_active'],
// query时查询的几个字段,关系 或
queryParams: ['username__icontainer', 'email__container', 'phone__container', 'role']
})
const results = await queryDataBySQL(sql)
// 通过 express-async-errors , 不需要代码去捕获错误给next传递了
// .catch(error => {
// return next({ error: error, responseType: 'json' })
// })
const total = await queryDataBySQL('SELECT COUNT(*) as total FROM user').then(res => res[0].total)
let limit = sql.match(/(?<=limit\s)\d+/)
let offset = sql.match(/(?<=offset\s)\d+/)
limit = limit ? parseInt(limit[0].trim()) : null
offset = offset ? parseInt(offset[0].trim()) : null
res.json({
meta: {
limit: limit,
offset: offset,
total: total
},
objects: results
})
})
编写规则见:https://swagger.io/docs/specification/2-0/describing-request-body/
其实上面的配置语法非常好理解,具体可以多观察对比下即可。作为粗略的入门,可以不看文档既能编写,这也是swagger的魅力所在吧。
这里遇到个问题【securityDefinitions设置无效】,参考下面文章解决:
方法2:自定义接口描述文件
安装nodejs和express(略)
使用express生成项目结构
1
express
下载swaggerUI代码
1
2
cd public
git clone https://github.com/swagger-api/swagger-ui.git设置swagger的访问入口
1
vim app.js
加入下面代码
1
2
3
const path = require('path')
app.use('/swagger', express.static(path.join(__dirname, 'public', 'swagger-ui', 'dist')))安装项目依赖并启动项目
1
2
npm install
npm run start通过访问 http://localhost:3000/swagger/index.html 即可访问。
自定义接口描述文件并使用
编写接口描述文件swagger.json(放在
public/swagger-ui/dist中)描述文件编写规则见:https://swagger.io/docs/specification/2-0/describing-request-body/
使用swagger edit在线编辑器编辑:https://editor.swagger.io/
编辑
public/swagger-ui/dist/index.html1
2
3
4
5
6
7
8
9
10
11
12
13
14
15
16
17
18const ui = SwaggerUIBundle({
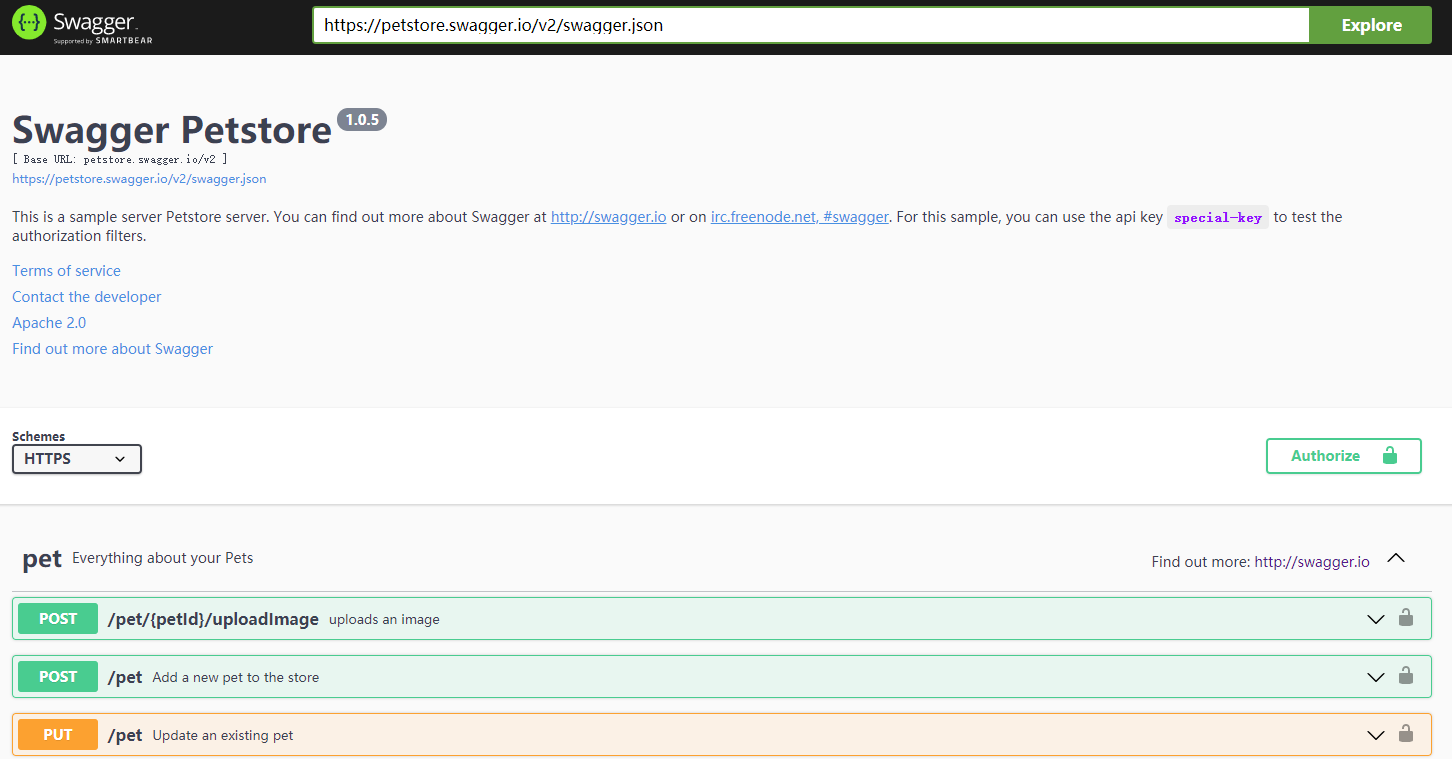
// 注释下面这行
// url: "https://petstore.swagger.io/v2/swagger.json",
// 增加下面这行
url: './swagger.json',
// 增加下面这行
validatorUrl: false,
dom_id: '#swagger-ui',
deepLinking: true,
presets: [
SwaggerUIBundle.presets.apis,
SwaggerUIStandalonePreset
],
plugins: [
SwaggerUIBundle.plugins.DownloadUrl
],
layout: "StandaloneLayout"
});重启项目(
npm run start), 刷新url,即可看到新的接口文档完成以上步骤以后,你所自定义的接口即可通过swaggerUI的方式展示在人面前,便于查看。
但是当具体点击某一个接口并进行【Try it】的时候,你会发现并没有成功,调出浏览器调试页面后,你会发现是跨域问题。
这是因为,swagger是纯粹的前端,它并没有后台的支持,所有界面上接口的请求都是直接由ajax发起,而此时你的服务端获取并不支持跨域,所以便出现了跨域的问题。
至于如何解决跨域问题,这里不累述,自行百度。
总结
比较上面的两个方法,感觉各有千秋。方法1导致代码注释比代码还多,但是方便后台人员改接口的时候不会忘记修改API文档。方法2的swagger.json随着项目的增大,api的增多感觉不好维护,而且也有可能后台人员改了接口但是忘记改API文档的情况。
总的来说还是有学习的价值的,方便了解API文档的编写规范,同时可以集成数据模拟,接口测试,文档编写的功能。但是接口测试发现自定义程度不高,更喜欢使用postman。这里团队开发的话推荐一个使用过的Doclever,具体使用请看官网吧。
参考链接
本文链接: http://www.ionluo.cn/blog/posts/186bff9a.html
版权声明: 本作品采用 知识共享署名-非商业性使用-相同方式共享 4.0 国际许可协议 进行许可。转载请注明出处!
